Princess Danielle Creative Palace
Boho Retreat
Boho Retreat
Couldn't load pickup availability
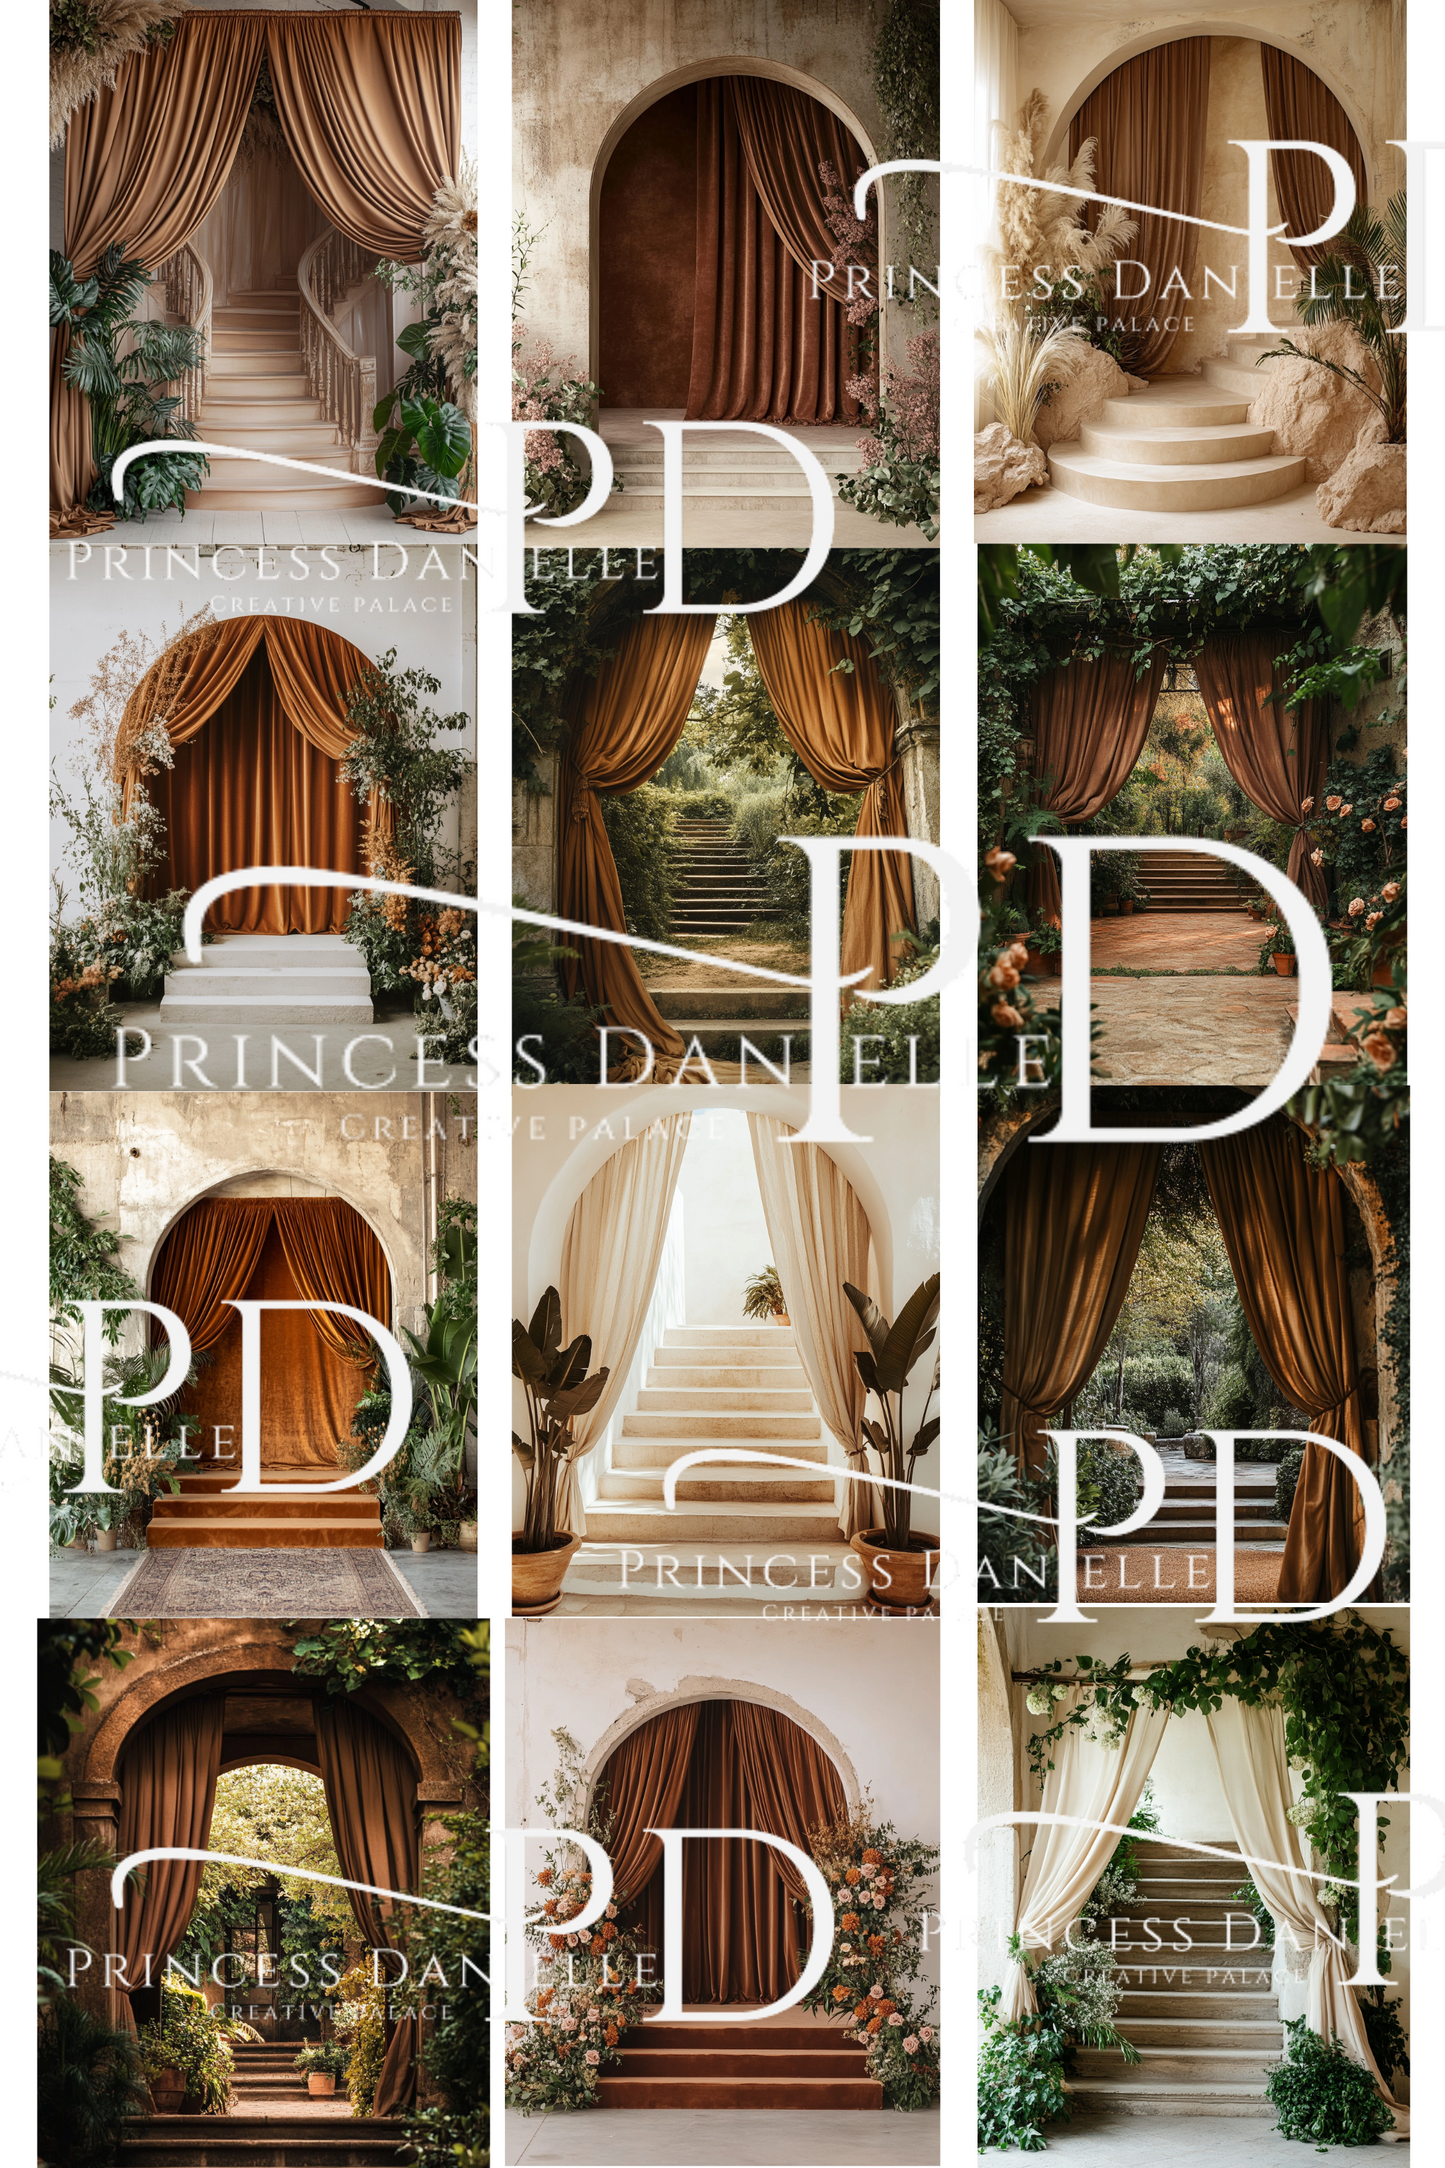
"Boho Retreat Digital Backgrounds are a collection of serene and stylish designs that capture the essence of bohemian living. Perfect for both indoor and outdoor settings, these backgrounds feature earthy tones, lush botanicals, and eclectic patterns that transport you to a tranquil oasis.
Perfect For:
- Maternity Sessions
- Editorial Sessions
-Business clothing branding
File delivery:
Your files will be available to download via email once payment is confirmed.
Includes:
1.• 12 Boho Retreat Backgrounds
• Dimensions : 5300 x 8064px portrait
• Resolution: 300 DPI
• File Type : PNG
• INSTANT DOWNLOAD
• Will not contain Watermark
• These are not real sets, they will look painterly, artsy and may look soft/unsharp around crown-molding edges or any flowers
Terms and Disclaimer
1.Some knowledge in Photoshop is needed.
2. This is an instant download digital product. Nothing will be shipped to you.
3. As this is an instant download product, no refunds will be given.
4. This product is NOT to be resold, gifted or redistributed in any form. You will be violating my copyright if done and I will take action!
How to use:
## 1. Open Your Base Image
- Launch Photoshop and go to File > Open to select the main background image you want to edit.
#### 2. Import Additional Elements
- To add other images or elements (like the white spheres or other graphics):
- Go to File > Place Embedded or File > Place Linked to insert the images you want to combine with your background.
- Position the new elements using the Move Tool (V).
#### 3. Adjust Layer Order
- In the Layers panel, arrange the layers so that the background is at the bottom and the new elements are on top. This allows for proper visibility and layering.
#### 4. Masking Elements
- Select the layer of the element you just placed.
- Click on the Add Layer Mask icon at the bottom of the Layers panel (a rectangle with a circle).
- Use the Brush Tool (B) with black to paint on the mask where you want to hide parts of the element. Painting with white on the mask brings them back. This can help blend elements seamlessly into the background.
#### 5. Adjust Size and Position
- You can resize or rotate the placed elements by pressing Ctrl + T (Windows) or Cmd + T (Mac) for the Free Transform tool. Hold Shift while dragging the corners to maintain the aspect ratio.
#### 6. Apply Layer Adjustments
- Use adjustment layers to edit color, contrast, brightness, or saturation:
- Go to Layer > New Adjustment Layer and select the desired option (Brightness/Contrast, Hue/Saturation, Levels, etc.).
- Clip adjustments to specific layers by right-clicking the adjustment layer and selecting Create Clipping Mask.
#### 7. Blend Modes
- Experiment with layer blend modes for unique effects. In the Layers panel dropdown, select different modes (e.g., Multiply, Screen, Overlay) to see how they affect the composite.
#### 8. Add Shadows and Highlights
- Create realistic depth by adding shadows:
- Create a new layer underneath the element layer and use a soft brush with low opacity to paint shadows.
- For highlights, add another layer for lighter areas using a similar technique.
#### 9. Finalize the Composition
- Ensure the colors match across all layers; you may need to adjust each layer's Hue/Saturation or use the Color Balance adjustment.
- Zoom out to see the overall composition and make any necessary adjustments.
#### 10. Finalize and Export
- Once you’re satisfied with the composite, go to File > Save As to keep a PSD file with layers intact.
- If you want to share or export your composite, go to File > Export > Export As or File > Save for Web (Legacy) for optimal settings